Dining Room Accent Wall

Our dining room was a sore spot for me when we moved into our home. There was no character or color and I wanted to bring some excitement to the space! After pulling inspiration photos and doing some research online, the idea for the accent wall was born. This was a great “beginner” project for a space and I break down all the steps to recreate it below.


We measured the wall space to determine how much beadboard we would need. They come in large sheets at Home Depot or Lowes - we ended up needing to purchase three. We also grabbed the required lengths of pine board (for shelving), wood peghooks, and trim pieces to cover the unfinished beadboard edges.
We cut all 3 beadboard sheets to our desired height. We clamped all of them together and used a rotary saw to do this - making it easier and to confirm they’d be the same height.
Next we determined the placement of the outlets on the back of the beadboard. We used an oscillating tool to cut out the rectangles. Then we cut the remainder of the beadboard to the widths of each section of wall. The space around and between the windows made it a little tricky. If you had a single/straight wall to work with, the process would be extremely simple.
Then we used our stud finder to locate the studs on all the walls. We used our nail gun (be careful—they’re addictive!) to attach the sheets.
We then cut the pine boards to the correct lengths for the shelves. Two pieces for each shelf. I marked where I wanted the pegs and used a large drill to open up the holes.
We attached the peg-ready pine board (to the wall) above the beadboard using a combination of screws and nails followed by gluing the peg hooks into the holes with wood glue.
Then we rested the shelf portion of the pine board above the wall-mounted pine board and screwed it in place. My FIL then sanded & rounded the edges of the shelves that jutted out.
I then cut and nailed in all 6 trim pieces to cover up the beadboard seams.
We used wood filler on our MANY nail holes and once dry, we sanded the wood filler and any rough patches.
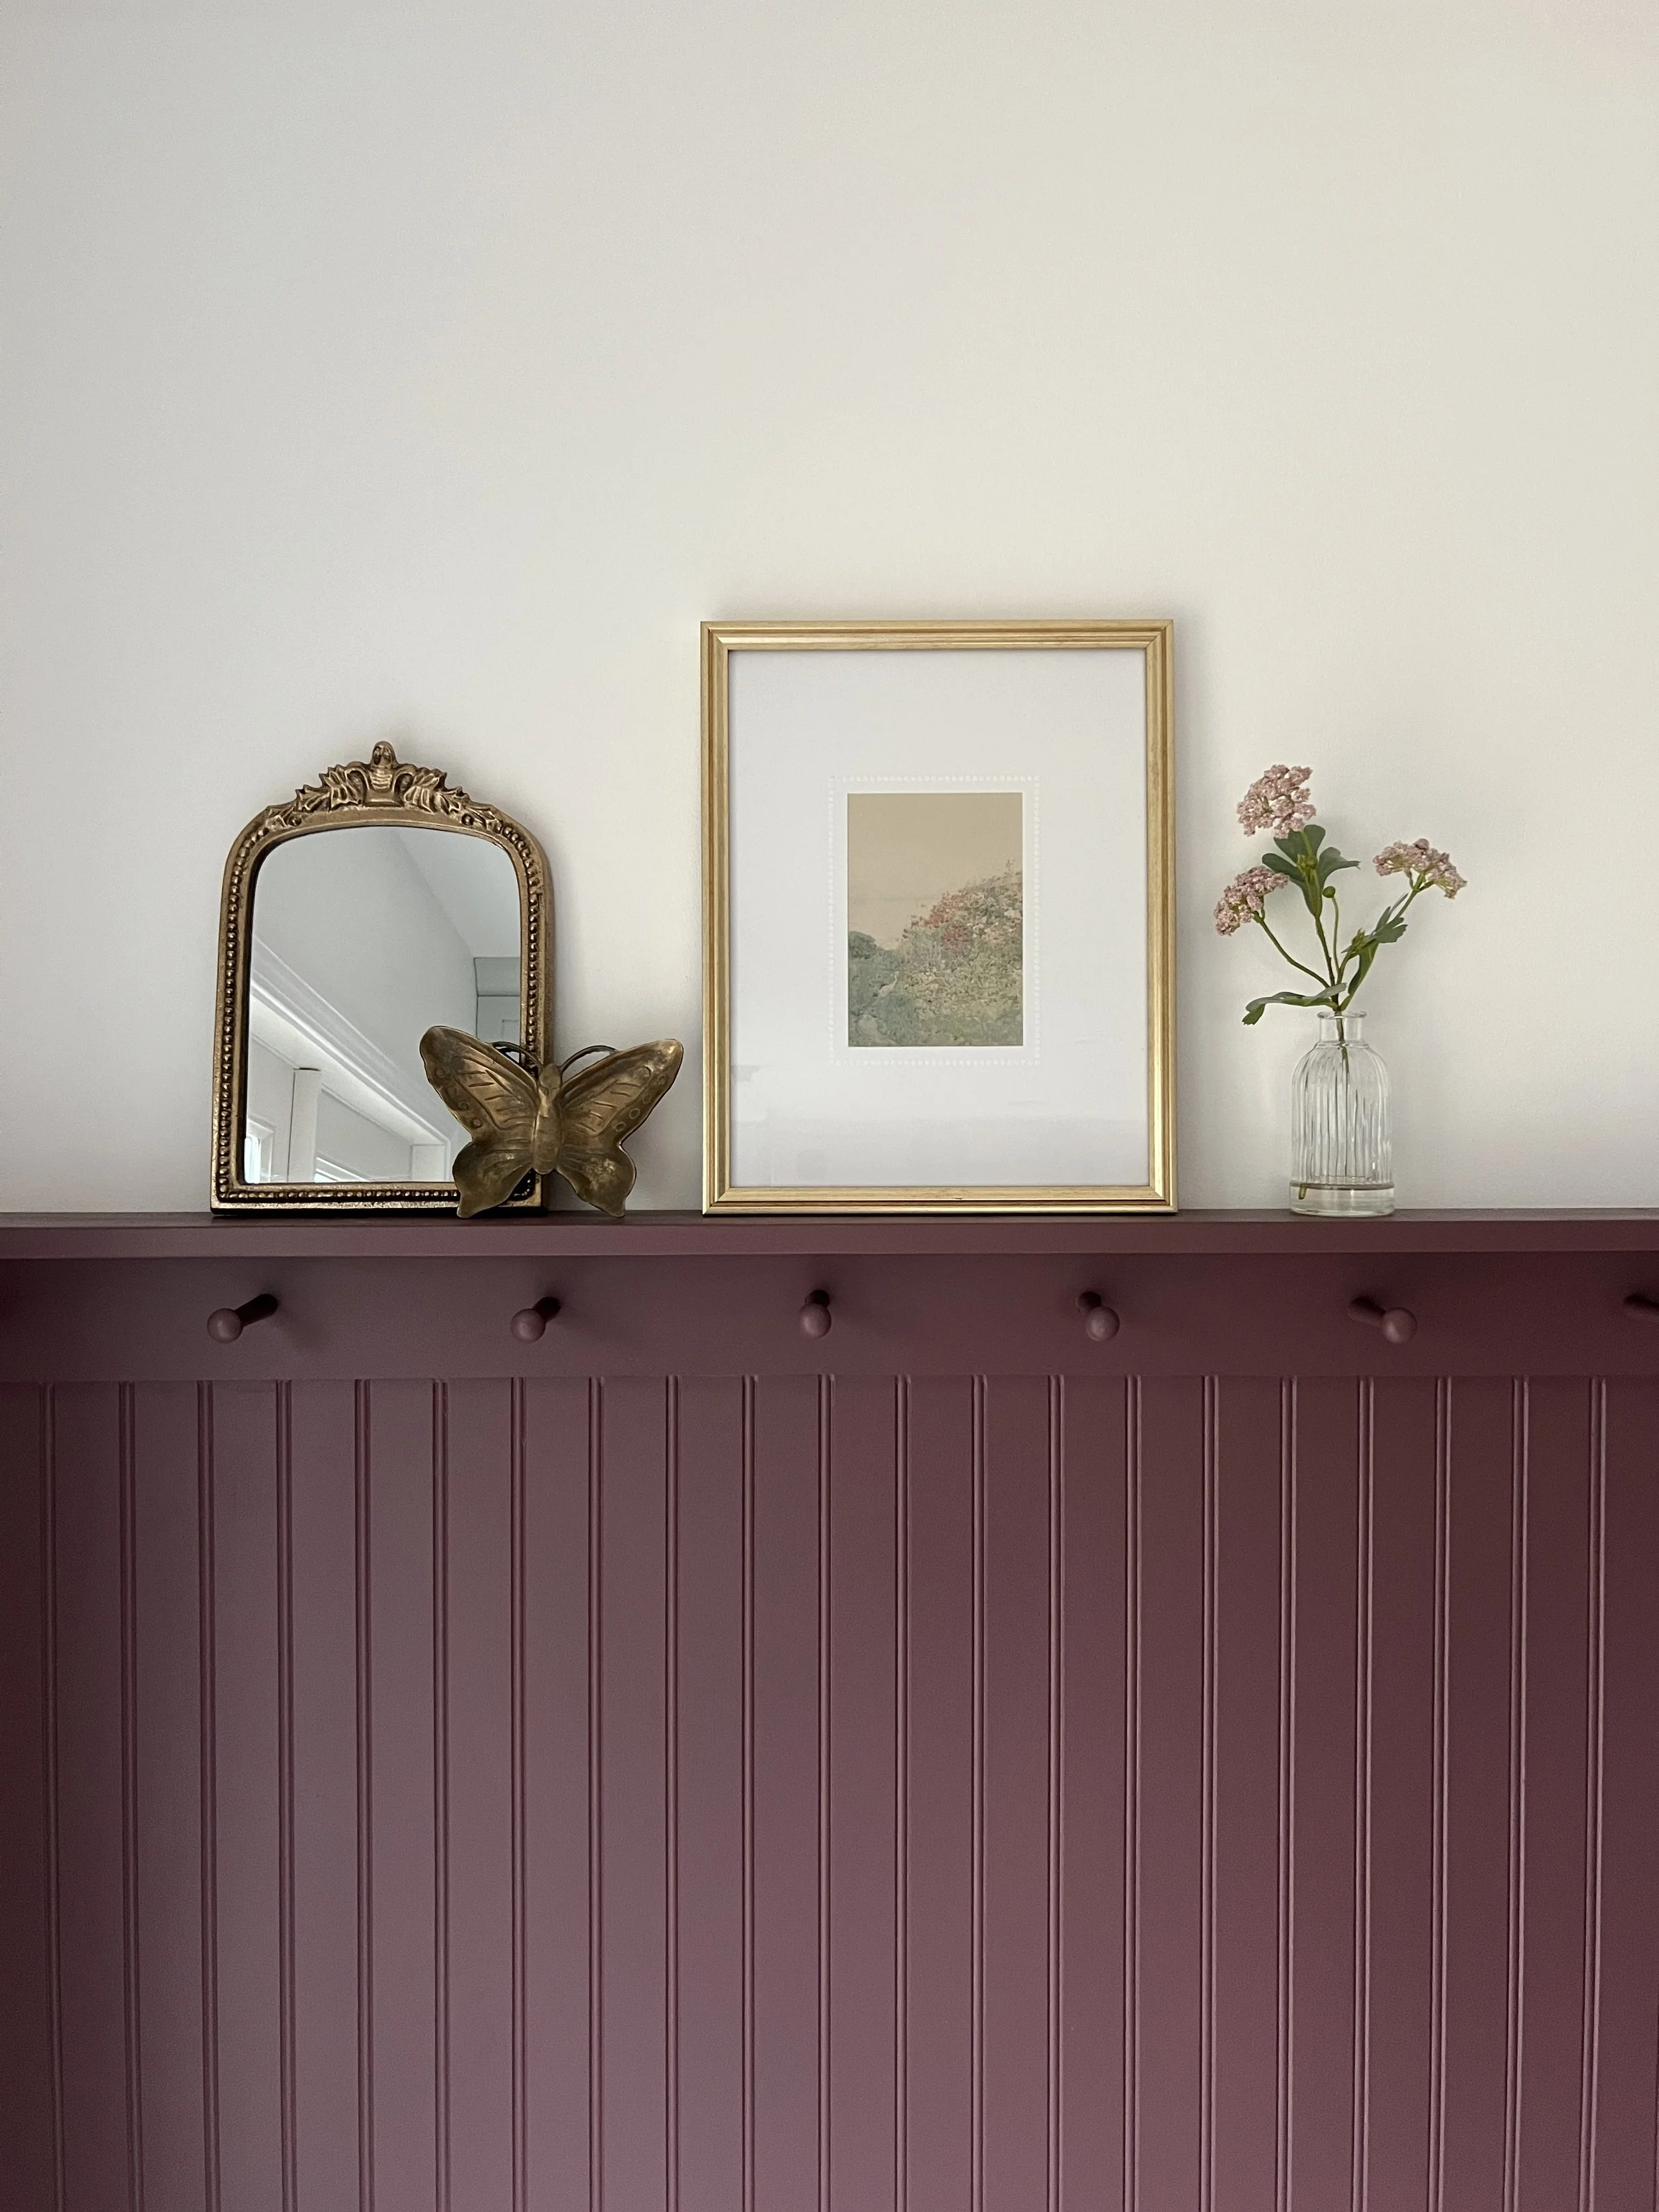
Painting was the final step - took a risk and painted it a gorgeous wine color by Sherwin-Williams called River Rouge. I couldn’t be happier with how it turned out!